This recipe was submitted by one of our readers, just like you.
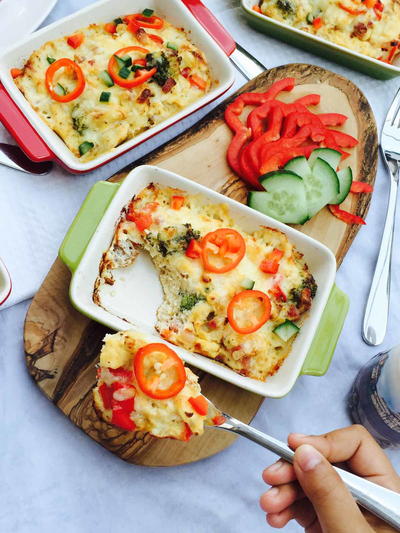
Baked Broccoli, Cheese and Pepper Omelette
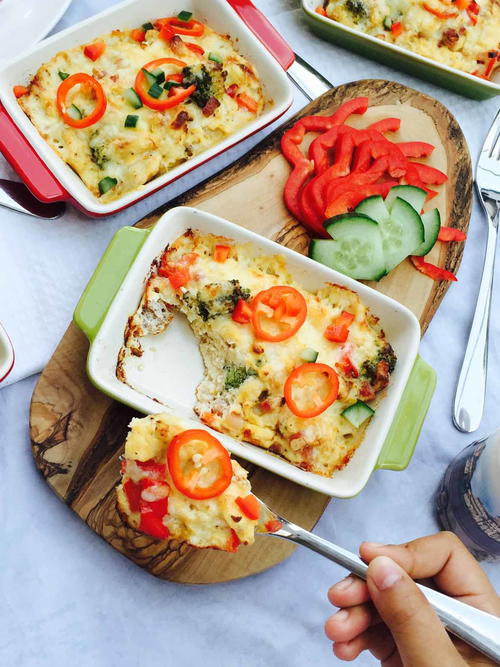
"It is an easy one to admit- I love weekend mornings, time (whenever possible) to have a nice relaxed breakfast at whatever time you fancy, even an early lunch if deciding to get really lazy, in other words, a superb brunch. Packed full with protein, this baked omelette with bacon, broccoli and red pepper will make your prefect weekend or weekday breakfast or brunch - simple and so delicious. Make it vegetarian by simply taking out the bacon/gammon."
Notes* If you are using bacon start with adding some water to begin with. Bacon has its own fat and I never add oil but if you use gammon, this usually hasn't got much fat so feel free to add 1/2 tsp coconut oil or any oil you like.
** Pre cooking it on the stove is one option but the other option (especially if you do not have time to do all this) just mix all ingredients, pour in baking dish and place straight into the oven. This will need to be baked for around 18-25 min, all depending on the size and the depth of the dish(es).
Serves4
Preparation Time10 min
Cooking Time15 min
Ingredients
- 150 g gammon (or bacon)
- 4 eggs
- 4 egg whites
- 120 g broccoli (made into small florets)
- 150 g cheese grated (mozzarella or chedar)
- 50 ml milk
- 3 tbsp creme fraiche
- 1/4 tsp salt
- 1/4 tsp black pepper (freshly ground)
- 1 chili (optional) red or green
Instruction
-
Preheat the oven at 180 C.
-
In a bowl break the eggs and beat for 30 seconds, add the egg whites, half of the grated cheese, milk, creme fraiche, salt (remember gammon adds salt to it), pepper and chili if you opt to put in.
-
Place a pan over medium heat and shallow fry the gammon/bacon for 3 min.* (see recipe notes) Add the peppers and the broccoli. Cook for further 2 min.
-
Add the omelette to the gammon and get the cooking of the omelette started. Cook for 3 min stirring occasionally. When it is half cooked transfer into the baking dish(es) sprinkle the remaining grated cheese. Bake for 8-10 min. **
-
Take out and serve. Enjoy it!


