This recipe was submitted by one of our readers, just like you.
Superb Elderberry Jam
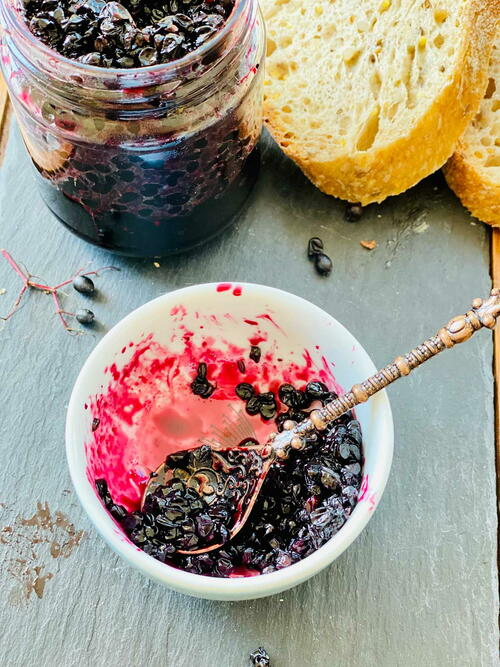
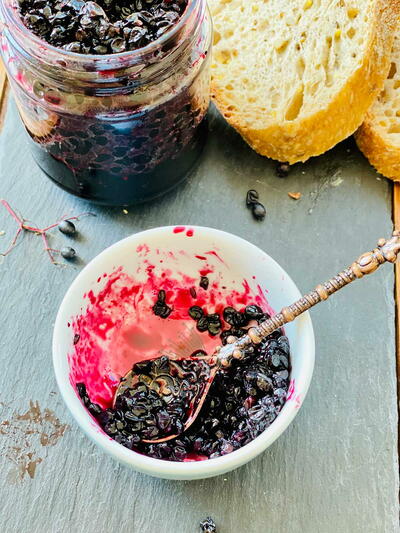
"If you’re looking for a homemade delicious and simple Elderberry Jam recipe with seeds and no pectin added, then you’ve come to the right place! Elderberries are one of these late summer offerings and these can make a fab jam, jelly, or syrup. Elderberry jam is one of those jams I grew up with but never fully appreciated until adulthood. My Superb Elderberry Jam recipe is made with only 3 ingredients, it contains no added pectin nor jam or preserving sugar. Bursting with natural goodness, it’s the perfect way to enjoy your foraged elderberries! "
Serves20
Preparation Time20 min
Cooking Time20 min
Cooking MethodSkillet
Ingredients
- 1 kg elderberries freshly picked, washed and well cleaned
- 400 g cane sugar see notes
- 1 large lemon see notes for extra tips
- 1 pinch salt optional but I recommend it
-
Prepare the preserving jars ahead and have them ready in the oven cooling once you start making the jam as those need to be easy to handle and not too hot when the jam gets to the jarring stage. See the notes above on how to sterilize the jars.
-
Prepare your elderberries by removing them from stems with a fork (or you can use your fingers too). Discard any red or green ones.
-
Submerge the elderberries in water and rinse several times until the water runs clear. Do this until there is no debris left. Pick out any stems or unripe berries, if you spot any.
-
Place the elderberries in a preserving pan and add the sugar on top. You can do this a good few hours ahead or even overnight to get some much-needed juices released. (See notes for more details)
-
Place the elderberries in the pan on medium to low fire and cook until the sugar has completely melted. Simmer and cook gently for 10-15 minutes with no lid on. Stir occasionally using a wooden or silicone spoon/spatula. Remove with a clean spoon the foam if any is forming.
-
Add the lemon slices, turn the heat up and cook for a further 6-7 minutes. This time you need to stir almost constantly.
-
Add the lemon juice at the last minute or two of cooking. Carry out the readiness test (see in the notes below) and get the jam jarred as soon as it is ready. If your jam hasn’t passed the test very well and it is still a bit too quick to close the path (runny) then boil for another 2 minutes and repeat the test until ready.
-
This jam recipe will fill up approximately 6 x 200ml sterilized jars.
Read NextCopycat Crumbl Brownie Batter Cookie


